This one's for you Mum!
When recently in Cairns, I came across this recipe in the local paper and had to give it a go. Not only did it sound absolutely delectable, but as my mother is a Coeliac, it gave me a chance to bake something that she could actually enjoy! As you can imagine (or maybe know from experience), not being able to eat anything with gluten makes baking, and cooking in general, a tricky feat. You must go over all ingredients with a fine tooth comb, as even a little bit of gluten to a person with Coeliac disease can be quite troublesome.
What is Coeliac Disease I hear you ask?
Coeliac disease is an auto-immune disease, which means that the body produces antibodies that attack its own tissues. For people with coeliac disease, this is triggered by gluten, a protein found in wheat, rye, barley and oats. (See the Coeliac Society of Australia for more info)
The following recipe was provided to the Cairns Post by Davy and Celia O'Rouke of Mama Coco's. I recommend this recipe and the rest of my Cairns family will whole-heartily agree.
(Note: The original recipe places the cake batter in 2 tins, so as the icing can be placed in the middle of the cake. If you do this, the cooking time will be almost half of that listed below).
Gluten-free Carrot Cake
6 eggs
360g caster sugar
1tps lime rind
530g finely grated carrot
320g almond meal
100g plain gluten-free flour
1 1/2 tsp ground cinnamon
1tsp ground nutmeg
1tsp ground ginger
2tsp gluten-free baking powder
Pre-heat oven to 170C. Grease and flour (or line with baking paper) a 24cm cake tin. I used a spring-form tin as it is much more baker-friendly when removing the cake.
Separate eggs and put the whites aside to whisk later. Sift flour, spices and baking powder into a bowl and add almond meal. In a large bowl, beat together yolks, sugar and lime rind for about 4 minutes. Add grated carrot and beat until the carrot is macerated (the mixture will look quite wet). Add flour mixture and beat until combined.
Whisk egg whites until firm peaks form and then gently fold into the cake mixture. It is recommended to do this in 2 stages so the cake is as light as possible. Pour batter into cake tin and bake for 1 hour and 20 minutes or until a skewer comes out clean. It is best to keep an eye on the cake from about the 1 hour mark onwards. Let the cake cool completely on a wire rack.
Lime Mascarpone Frosting
75g caster sugar
2tbs lime juice
Pinch of salt
400g mascarpone cheese at room temperature
Roughly chopped whole walnuts (for garnish)
Combine sugar, lime juice/zest and salt and beat at low speed until the sugar is dissolved. Add the mascarpone and slowly beat until just combined (should only take a few seconds). You do not want to over beat at this stage as the mascarpone will become grainy. Spread the frosting over the cake with a spatula. I find it easier to do the sides first and then follow with the top. I then garnished the cake with roughly chopped walnuts.
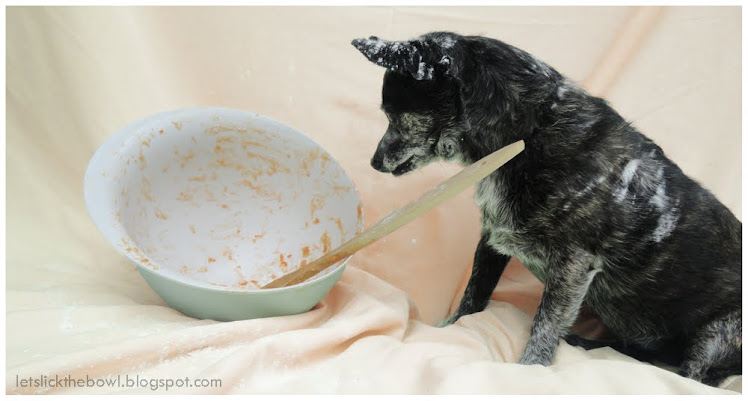
This cake was an instant hit with the family and mostly importantly, Mum. It was moist and very flavoursome. The frosting was amazing with the combination of zest and cream. This really is a fabulous substitute to the traditional cream cheese icing that is usually found on carrot cakes. I really enjoyed making this cake and our family pup Pepper also enjoyed licking the bowl in her photo shoot for my blog.


